Under medical supervision

Reconstitution math should feel unmistakable.

A focused calculator and aseptic preparation checklist for prescribed, pharmacy-dispensed products. It checks the arithmetic. Your clinician and product label make the decisions.

No dose recommendations

Only use a dose and route written by a licensed clinician.

No mystery products

Identity, purity, potency, and sterility cannot be checked by a calculator.

Units shown together

See mg/mL, mcg/mL, mL, and U-100 markings for a deliberate cross-check.

This is not a prescribing tool. Use only for a named patient, a prescribed product from a licensed pharmacy, and values already confirmed by the prescriber or dispensing pharmacist.

Step one

Plan the mixture or check a prepared vial

Start with the prescribed dose and powder amount. Choose the approved U-100 fill line to calculate the diluent, or enter a known diluent volume to calculate the draw.

What do you need to calculate?

Choose the direction of the calculation. Planning a vial needs one extra input: where the prescribed dose should land on the approved syringe.

The missing variable is the syringe fill line.

A vial amount and a dose tell us how many doses are present. They do not tell us how much liquid to add until an intended draw volume is also specified.

mg
units

Syringe units are only valid for a device explicitly marked U-100, meaning 100 units per mL.

No values leave this device. This tool performs arithmetic. It cannot inspect the vial, verify the drug, or approve a preparation.

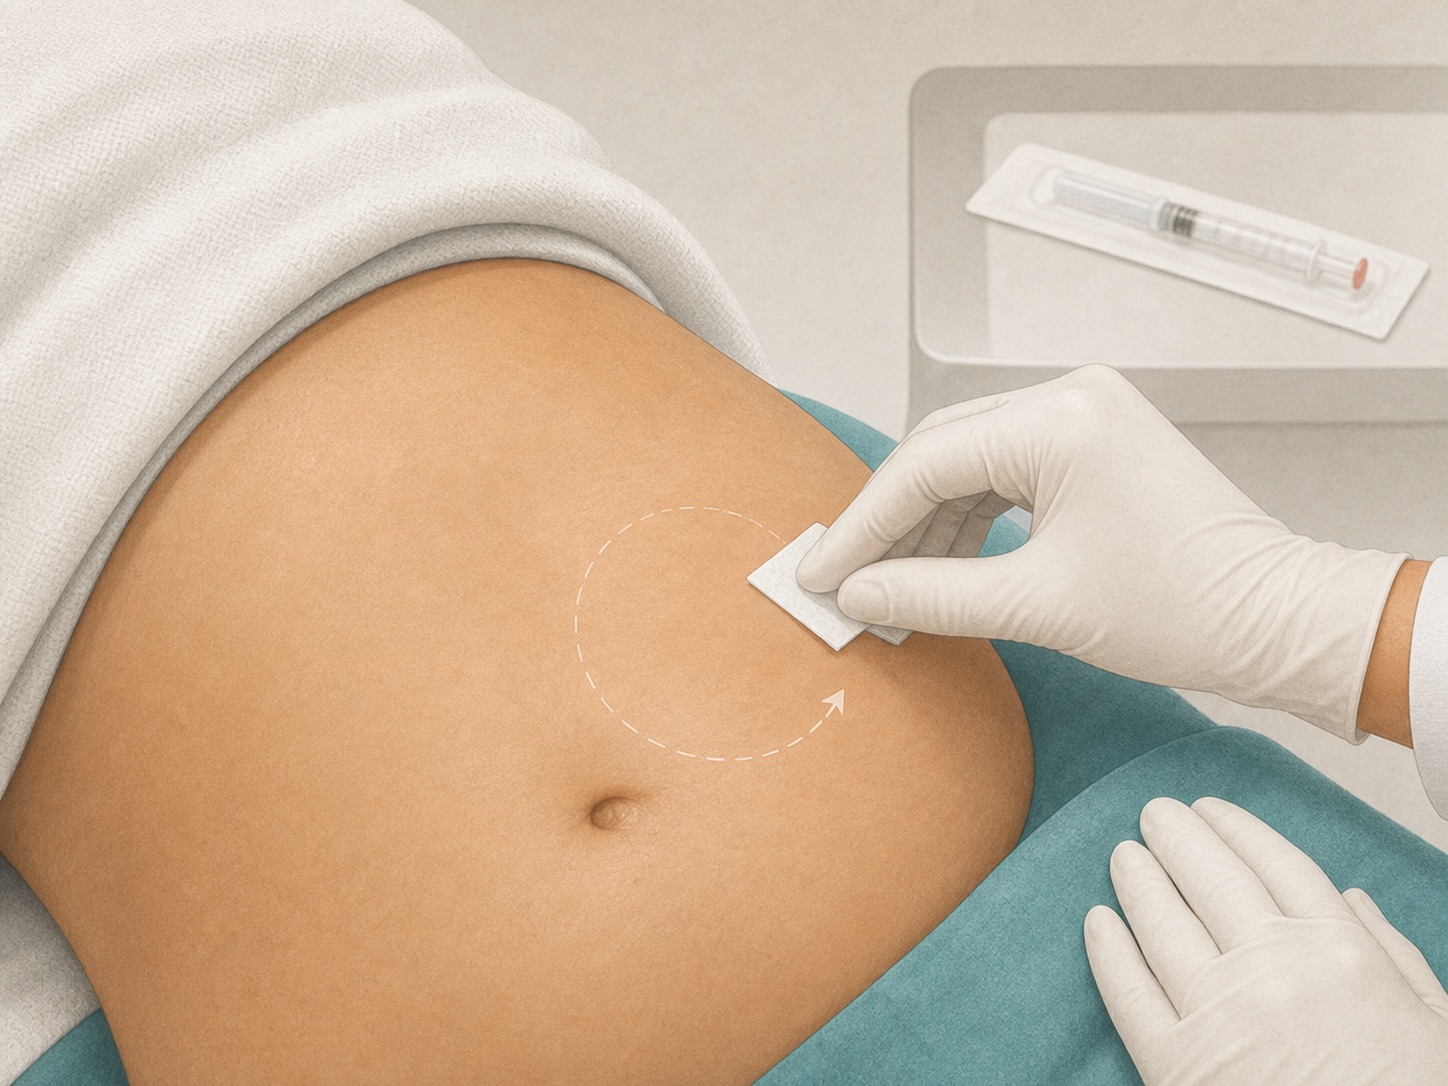
Intact abdominal skin being prepared with a fresh single-use alcohol pad
Before administration

Skin preparation follows the prescribed protocol

1

Verify again

Match the patient, medication, prescribed dose, route, device, and scheduled time. If the syringe marking differs from the checked calculation, stop.

2

Choose intact skin

Follow the clinician's site and rotation plan. Do not use skin that is infected, inflamed, broken, bruised, scarred, unusually painful, or otherwise unsuitable.

3

Clean only as directed

When the product or clinician's protocol calls for alcohol antisepsis, use a fresh single-use 60 to 70 percent alcohol pad. Wipe from the center outward for 30 seconds and let the skin air-dry completely. Do not touch the cleaned area.

4

Use the taught technique

This guide does not choose an injection route, site, angle, or needle. Use the patient-specific method taught by the supervising clinician, then discard the device immediately without recapping.

Step two

A clean sequence, every time

Aseptic technique breaks when one clean step touches a dirty surface. Move slowly. If sterility becomes questionable, stop and replace the affected item.

The short version

Clean hands. Clean dry septum. New sterile needle and syringe. Every entry.

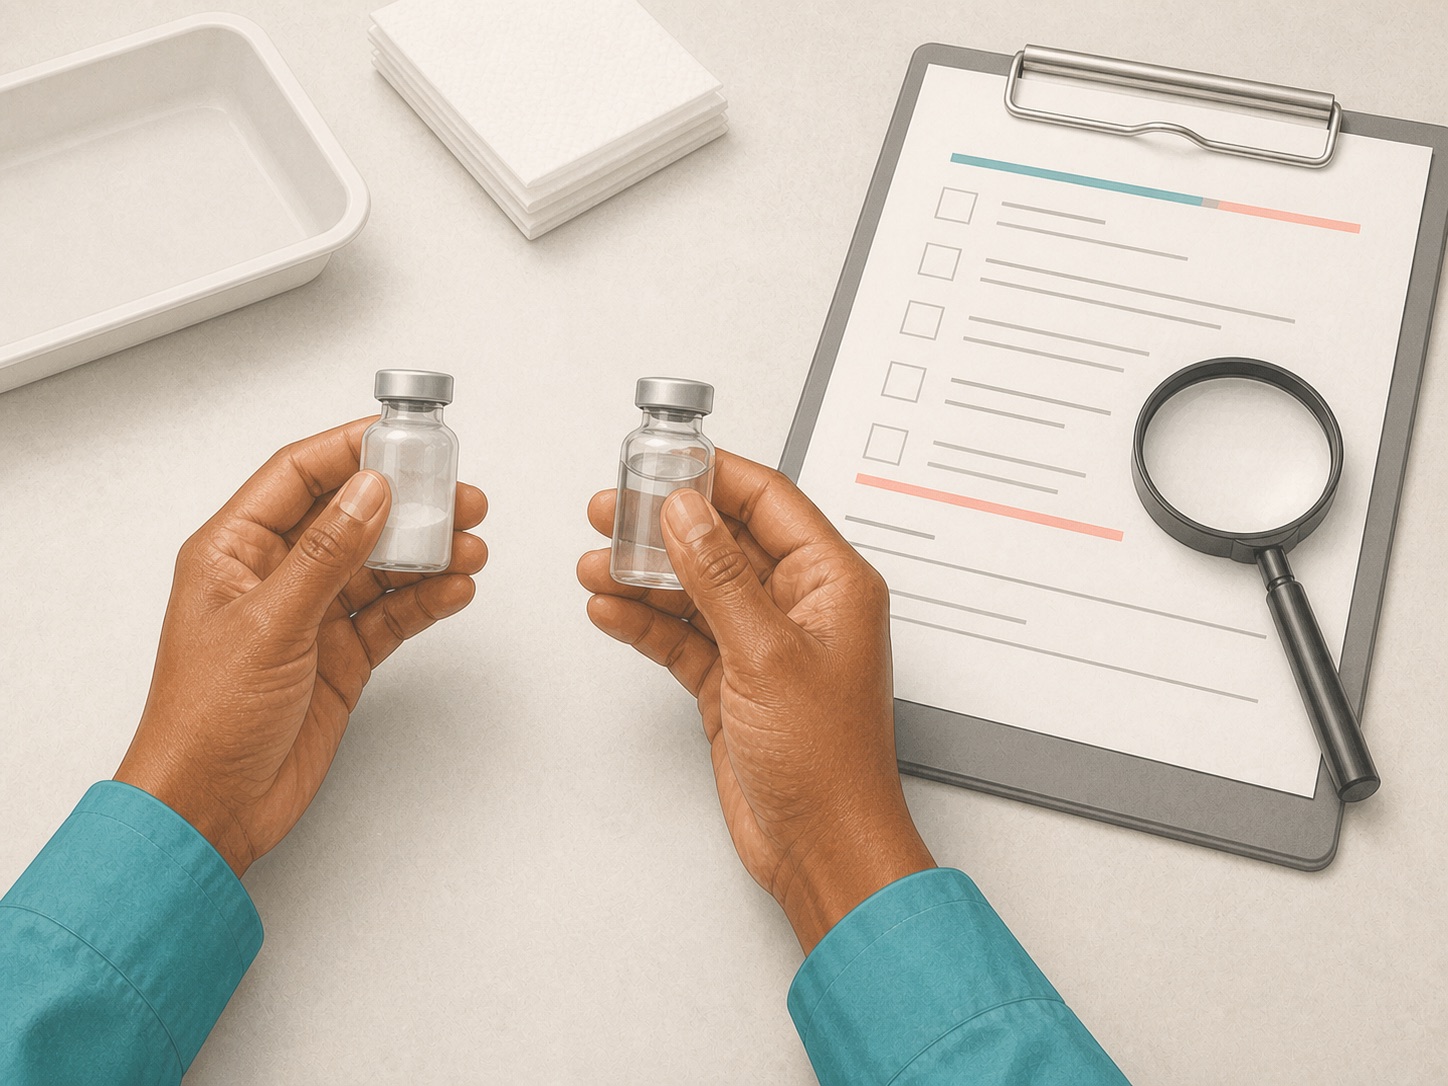
Clinician comparing sealed powder and diluent vials with a pharmacy instruction sheet
01

Stop and verify the order

Match the patient, prescribed product, vial strength, exact diluent, diluent volume, route, dose, storage instructions, and beyond-use date. The dispensing label and manufacturer or pharmacy instructions override this page. If any item is missing or inconsistent, do not continue.
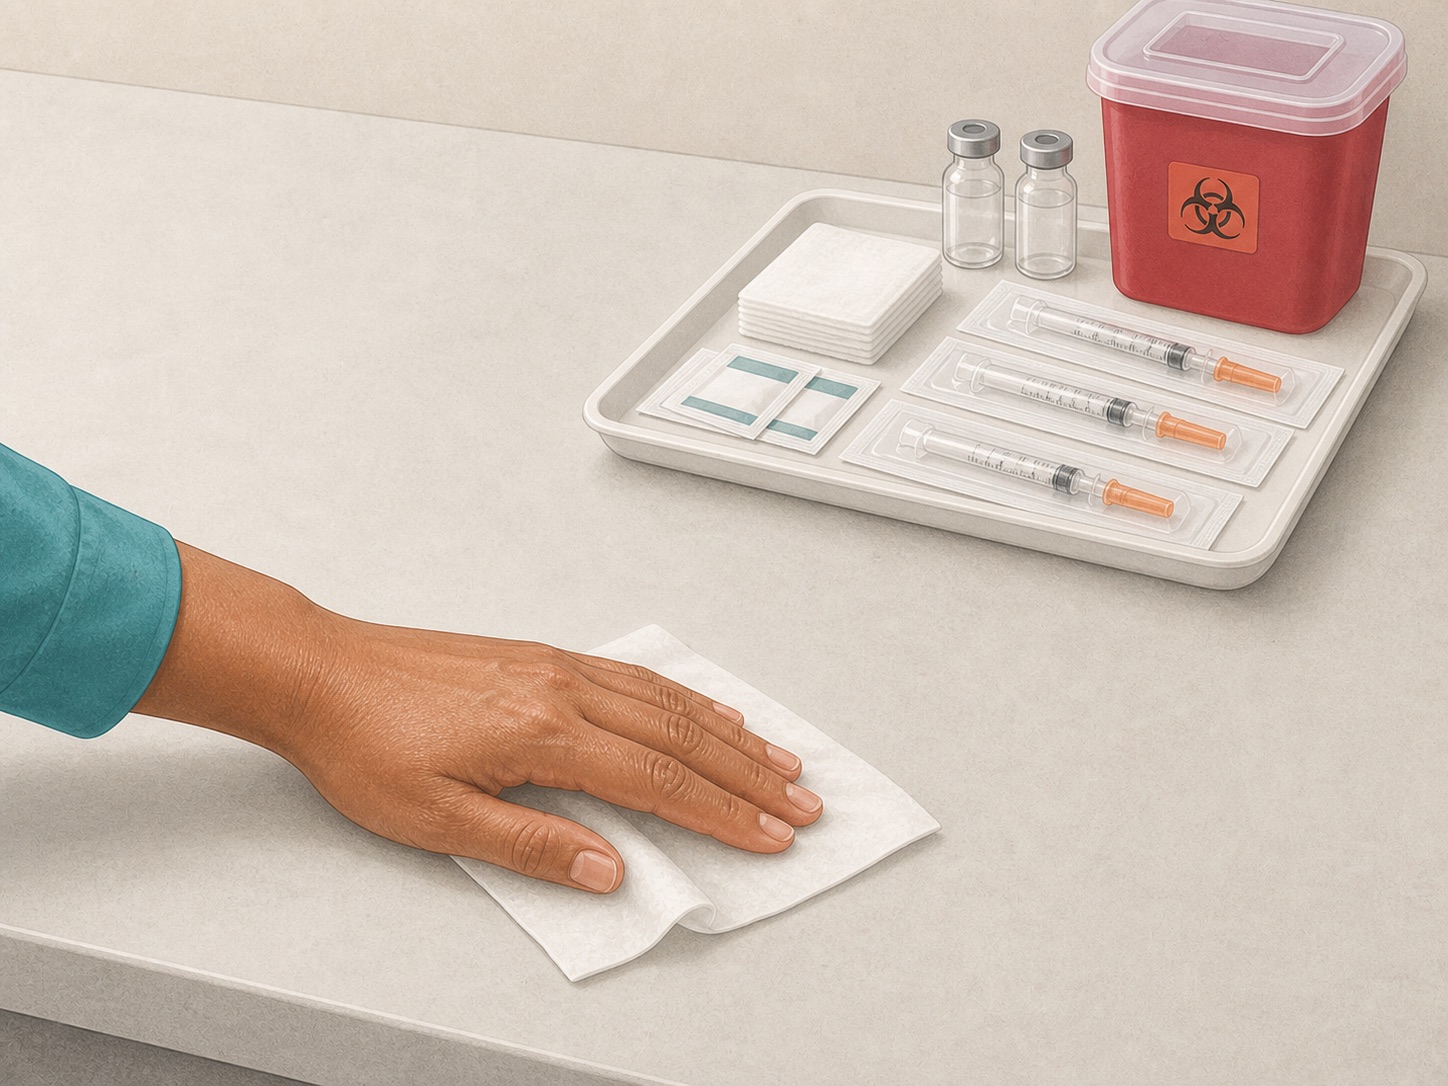
Dry medication preparation surface being cleaned beside unopened supplies on a tray
02

Set up a clean medication area

Use a clear, dry work surface away from sinks, food, pets, used sharps, and other contamination. Clean the surface and let it dry. Gather unopened sterile supplies and place an approved sharps container within reach.

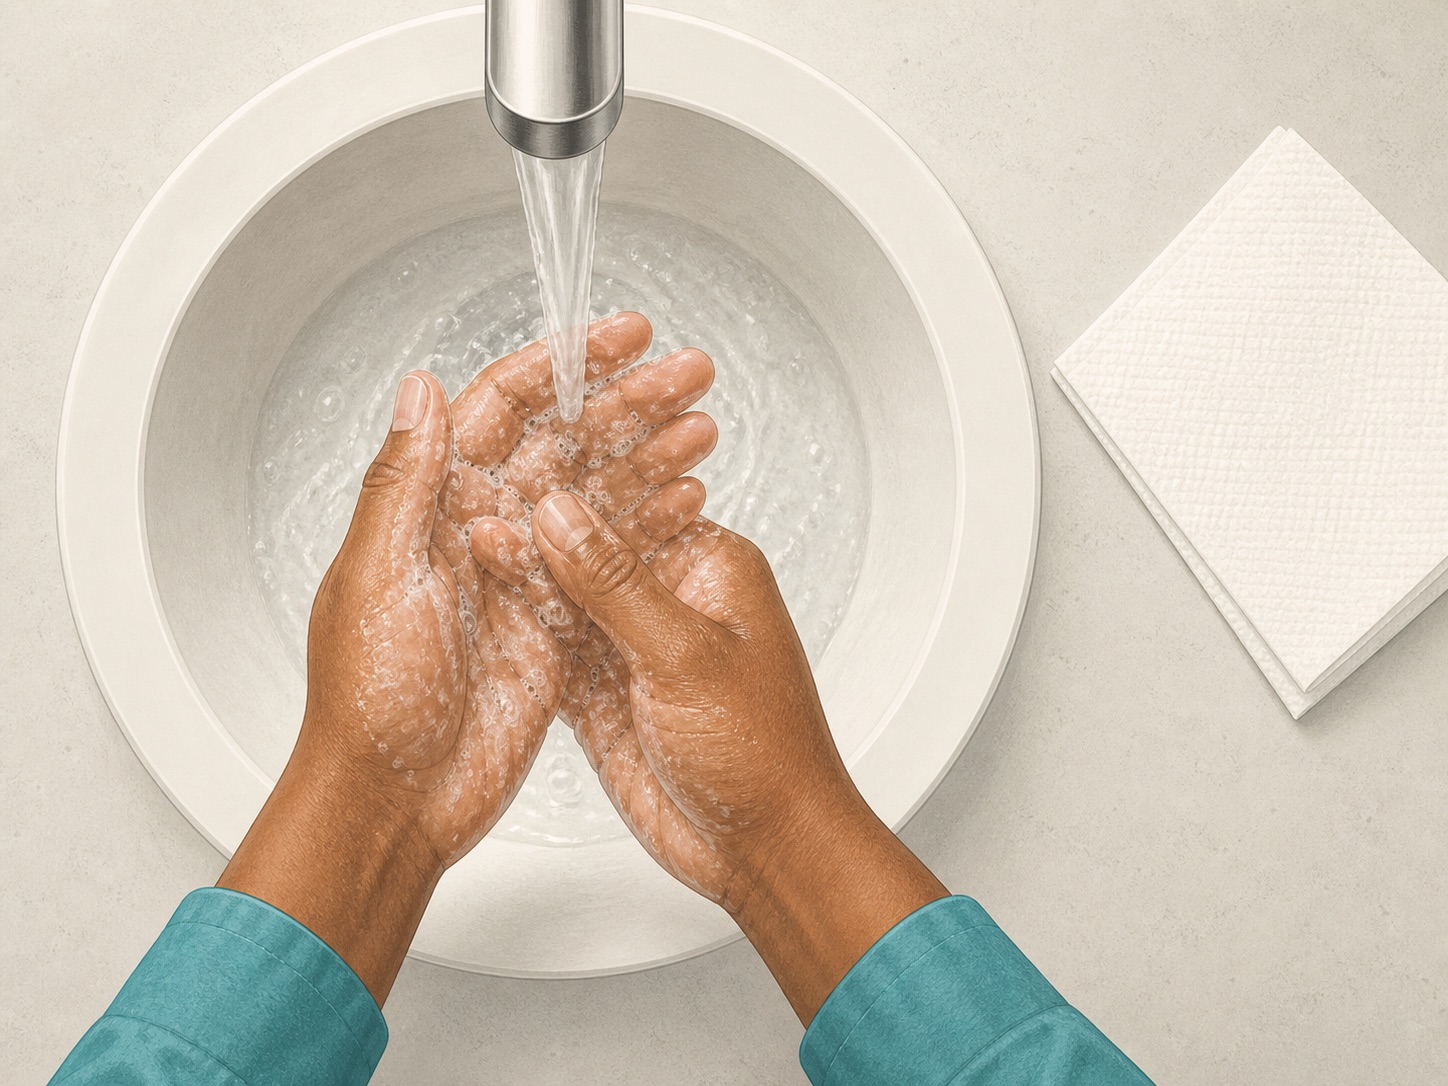
Hands being washed thoroughly with soap and running water
03

Clean your hands

Wash with soap and water, then dry with a clean single-use towel. An alcohol-based hand rub is appropriate when hands are not visibly soiled. Hand hygiene comes before preparation and again whenever contamination may have occurred.

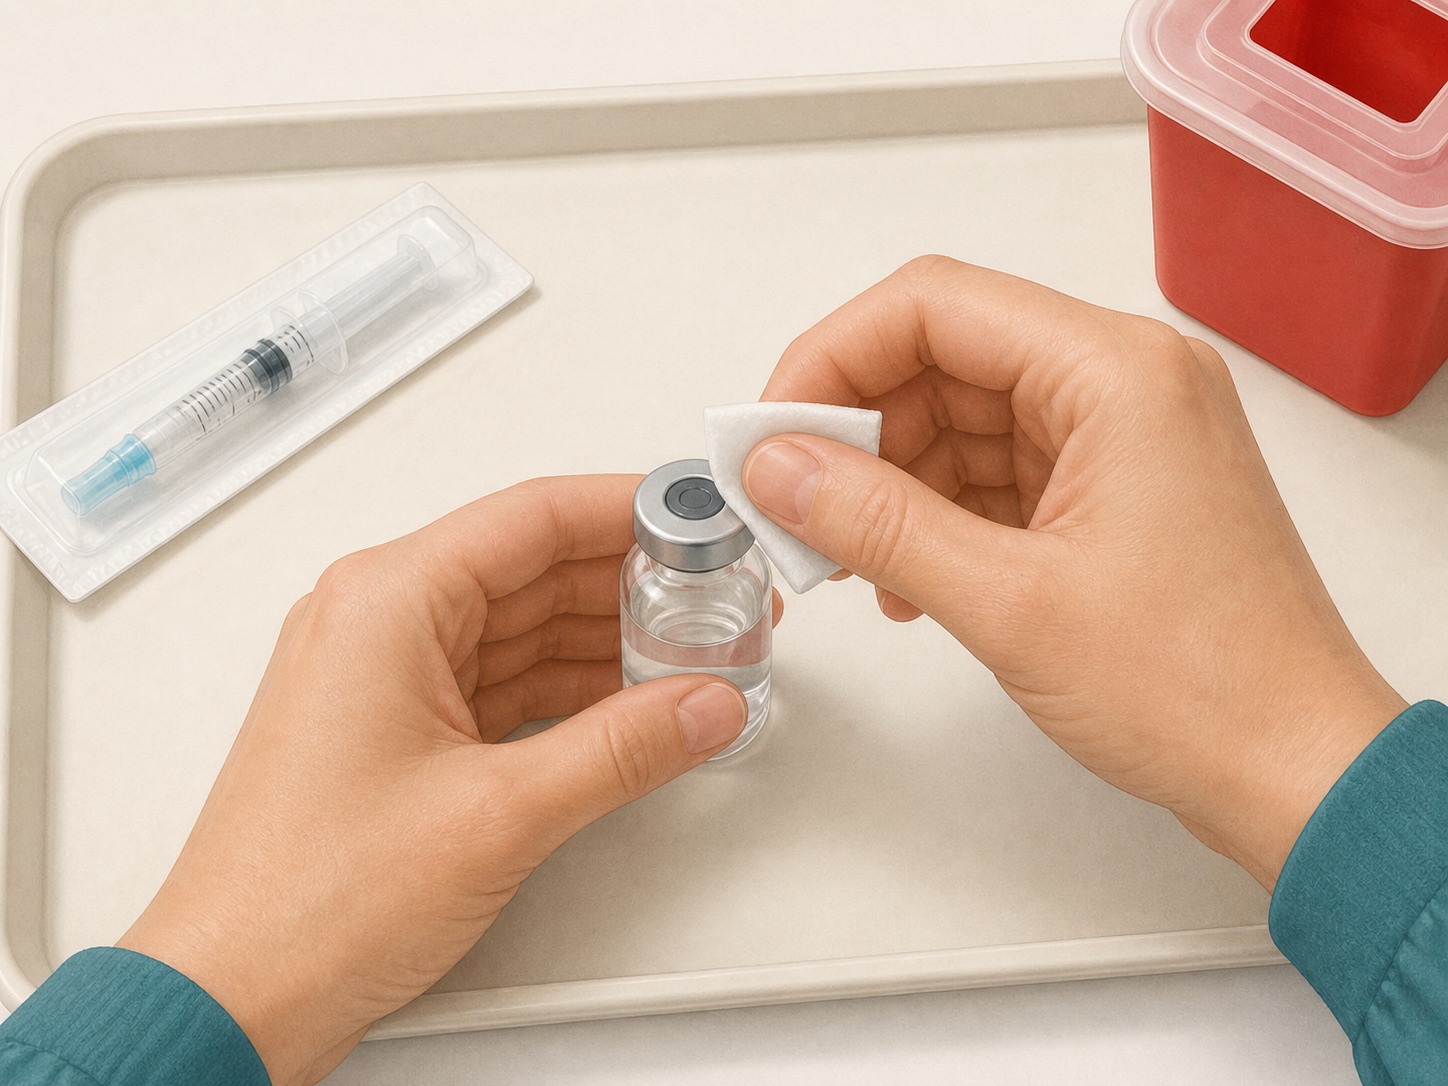
Medication vial rubber septum being wiped with a single-use alcohol pad
04

Inspect, wipe, and wait

Check every vial for damage, particles, cloudiness, a broken seal, or an unexpected appearance. Remove the flip cap without touching the rubber septum. Scrub each septum with a fresh 70% alcohol pad using friction, then let it air-dry completely. Do not blow, fan, or touch it.

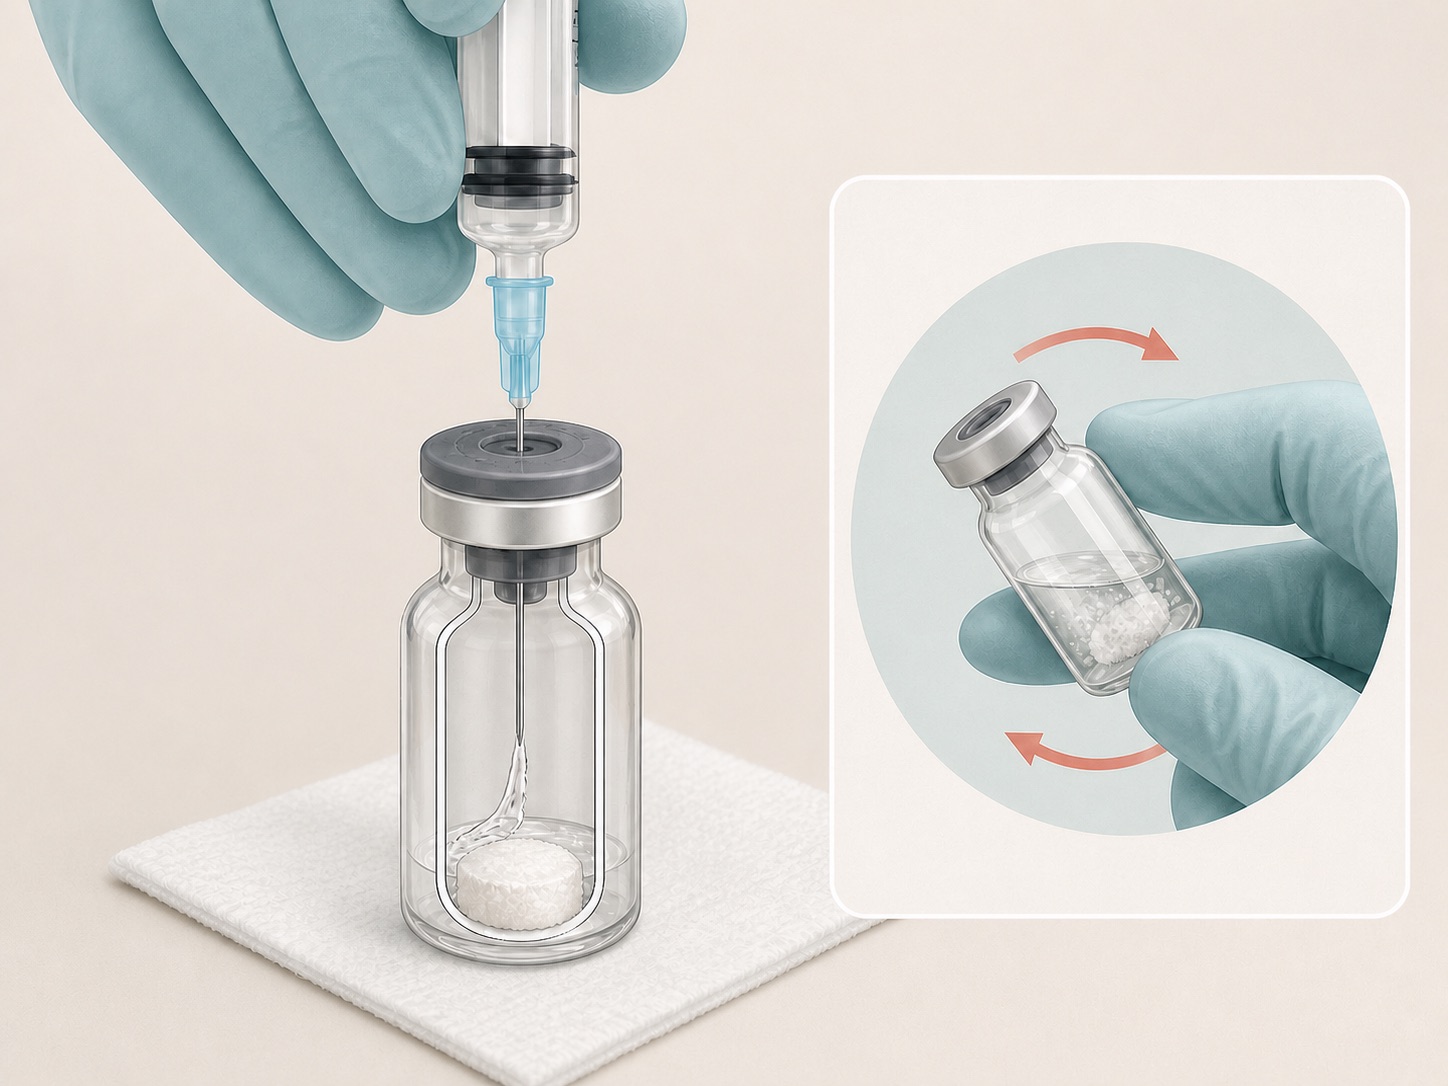
Prescribed diluent transferred slowly through a sealed vial septum toward the glass wall
05

Transfer the prescribed diluent

Do not pour liquid into an open vial. Keep the vial sealed. With a new sterile needle and syringe, withdraw only the diluent and volume named on the order. If the product instructions call for gentle handling, direct the liquid slowly toward the inside glass wall. Never force a transfer you are unsure about.

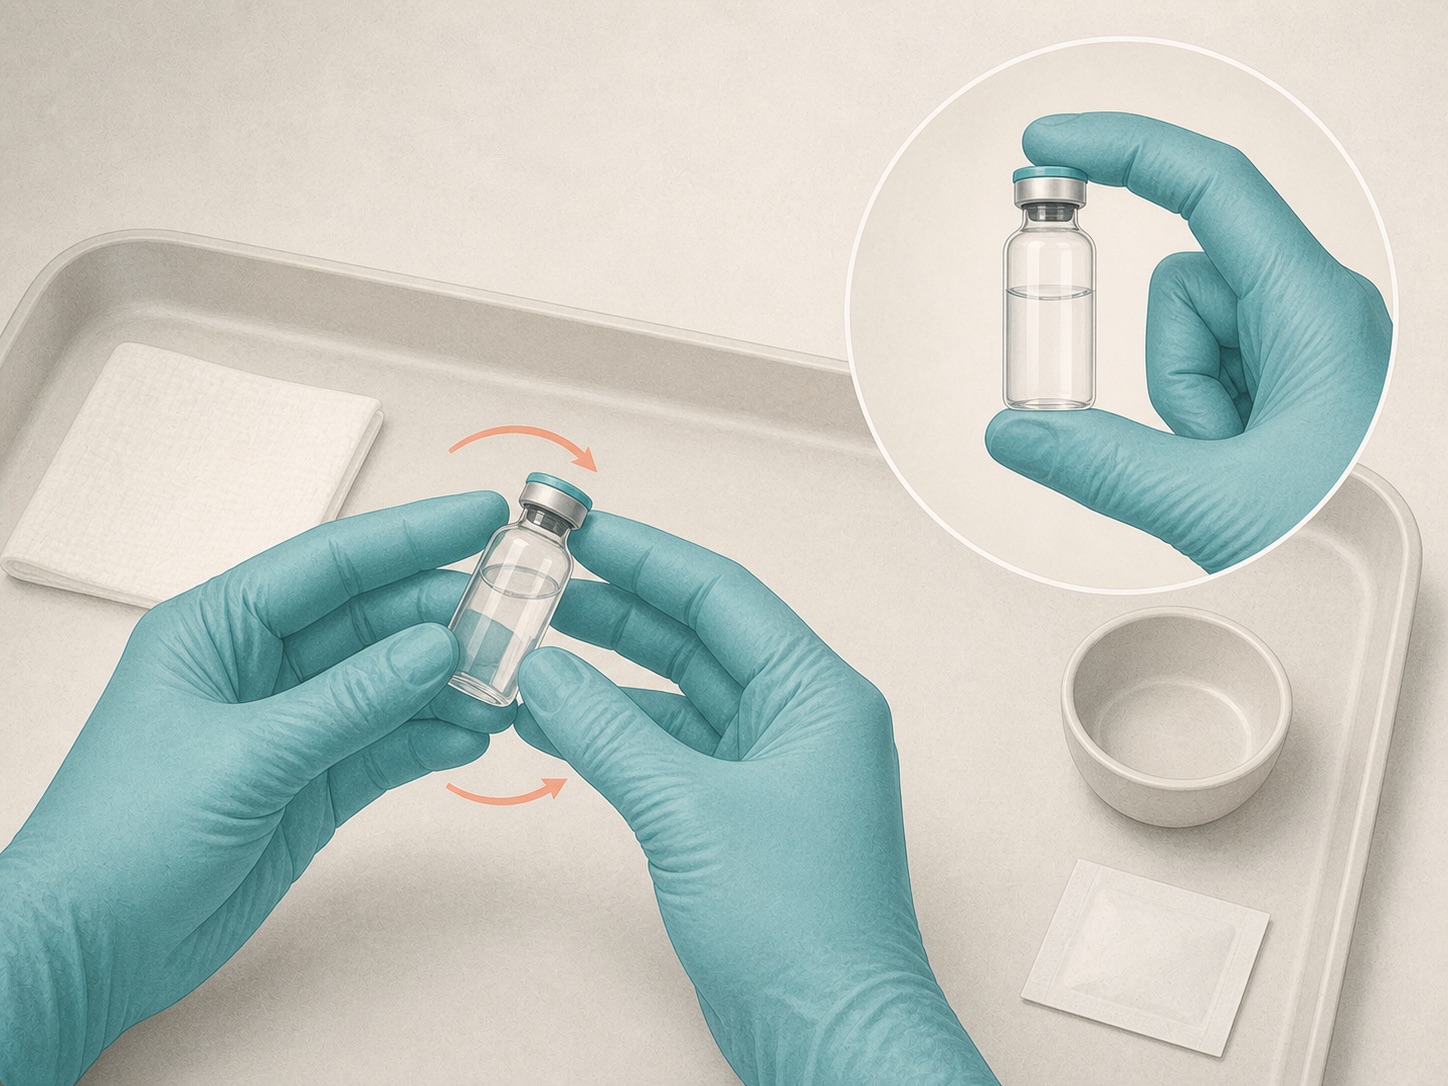
Sealed vial gently rolled between gloved hands and inspected against a light background
06

Dissolve exactly as directed

Follow the product-specific method. Many fragile products are gently rolled or swirled, but that is not universal. Do not shake unless the manufacturer or dispensing pharmacy explicitly tells you to. Do not use heat or attempt to crush remaining material.

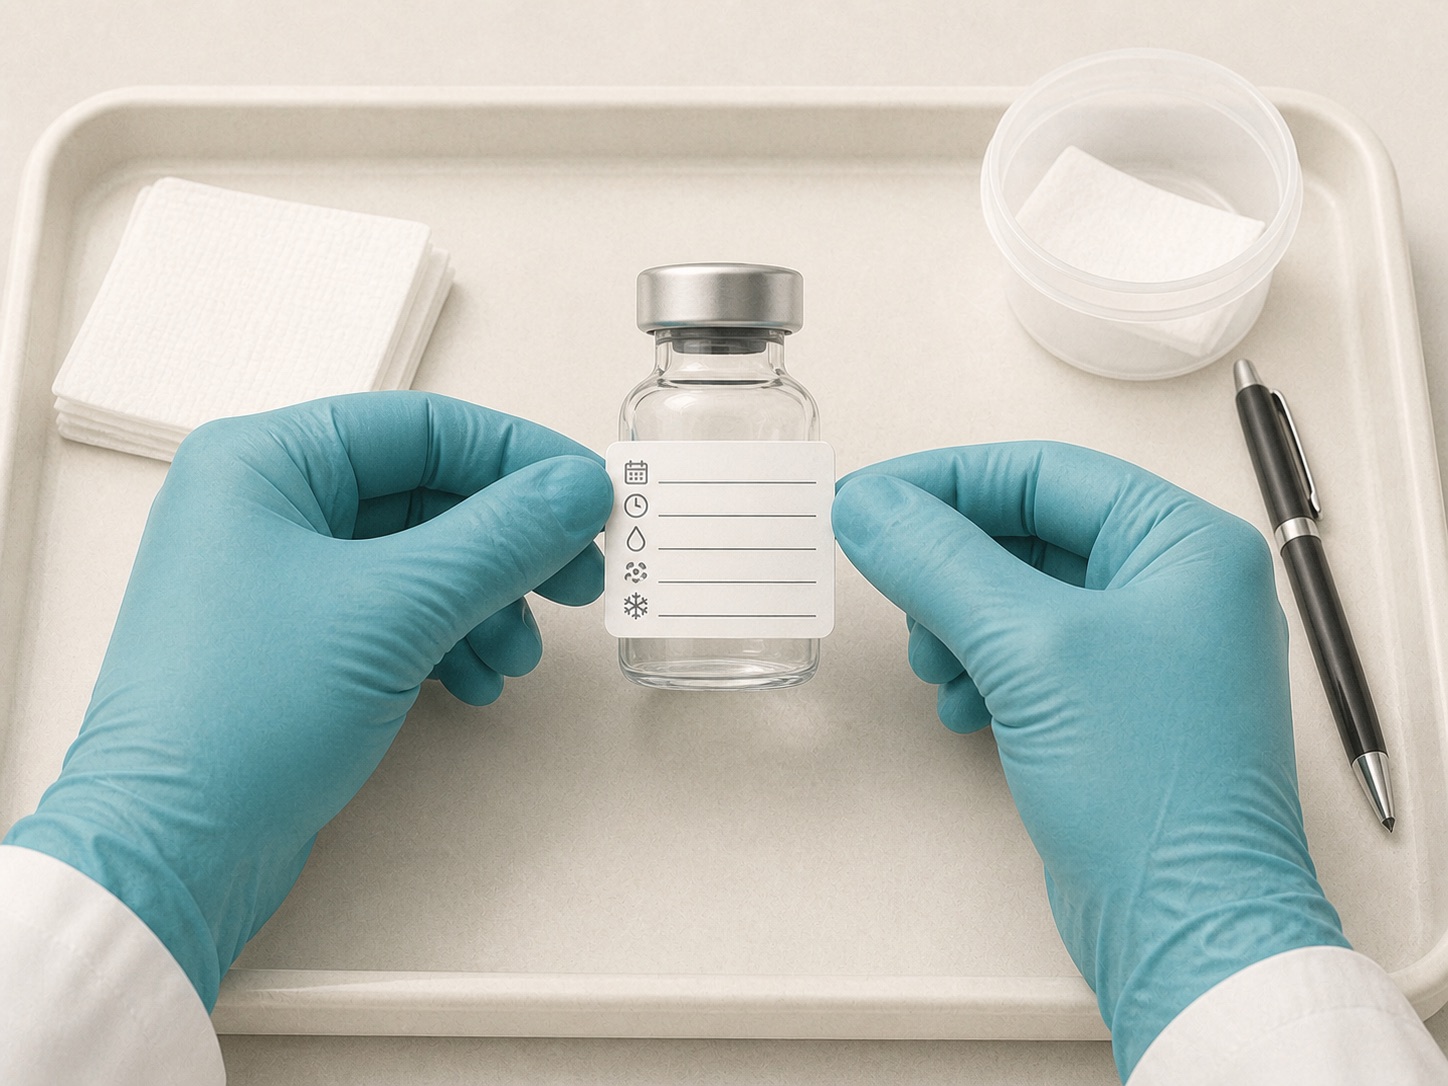
Blank preparation label being applied to a sealed vial
07

Inspect and label

Check the final appearance against the dispensing instructions. Label the vial with the preparation date and time, diluent and volume, final concentration, and the pharmacy-assigned beyond-use date. A general multidose-vial rule does not replace a product-specific date.

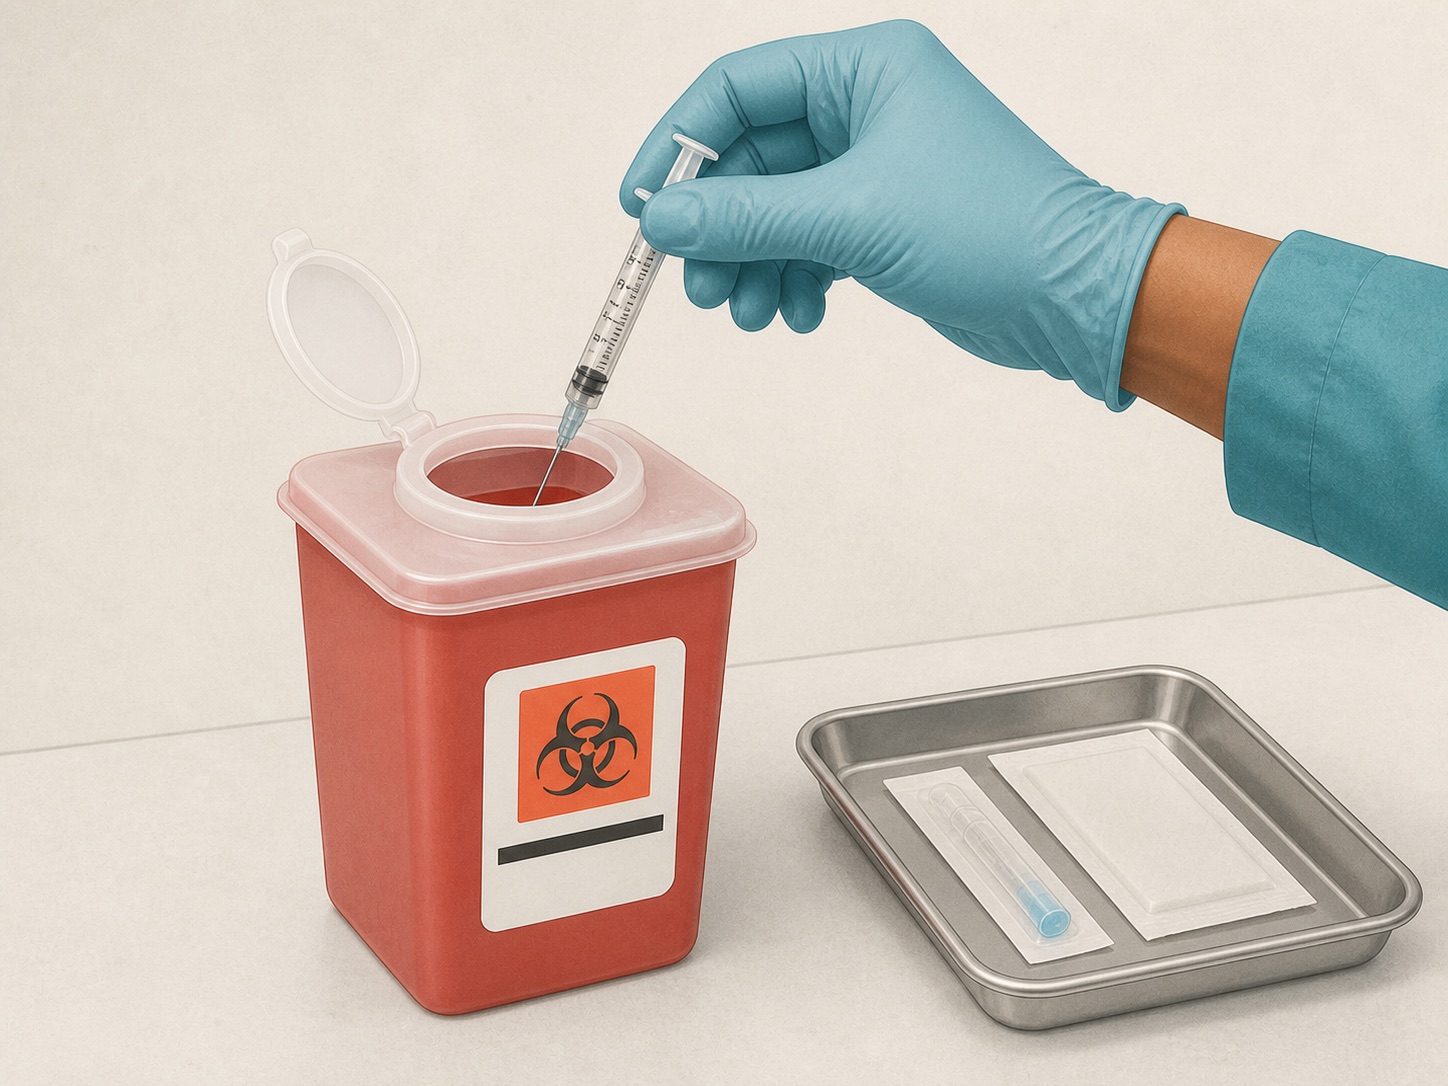
Intact uncapped syringe and needle being placed directly into a sharps container
08

Use fresh sterile equipment every time

Before every entry, clean hands, disinfect the septum, and let it dry. Use a new sterile needle and a new sterile syringe for every puncture, including repeat withdrawals for the same person. Never leave a needle in the stopper. Discard used sharps immediately without recapping.

Discard and call the pharmacy

  • • The seal is broken, the vial is cracked, or sterility is uncertain.
  • • The final appearance differs from the pharmacy or manufacturer description.
  • • The product, diluent, concentration, storage, or beyond-use date is unclear.
  • • A sterile part touched a hand, counter, used item, or another nonsterile surface.

Get medical help

Contact the supervising clinician promptly for fever, worsening pain, warmth, swelling, pus, spreading redness, red streaks, or a new lump. Call emergency services now for trouble breathing, facial or throat swelling, fainting, severe weakness, confusion, or rapidly worsening symptoms.

Clinical sources

Guidance behind the checklist

Educational harm-reduction content. It does not replace the product's approved labeling, the dispensing pharmacy's instructions, institutional policy, or patient-specific medical advice.